
Phase 1
Plan
Set the footprint, stair location, board direction, material, and rough budget.
From permits to the final board: follow the build sequence, estimate your budget, and decide where you need professional help.
6 project phases · Practical guides at every step
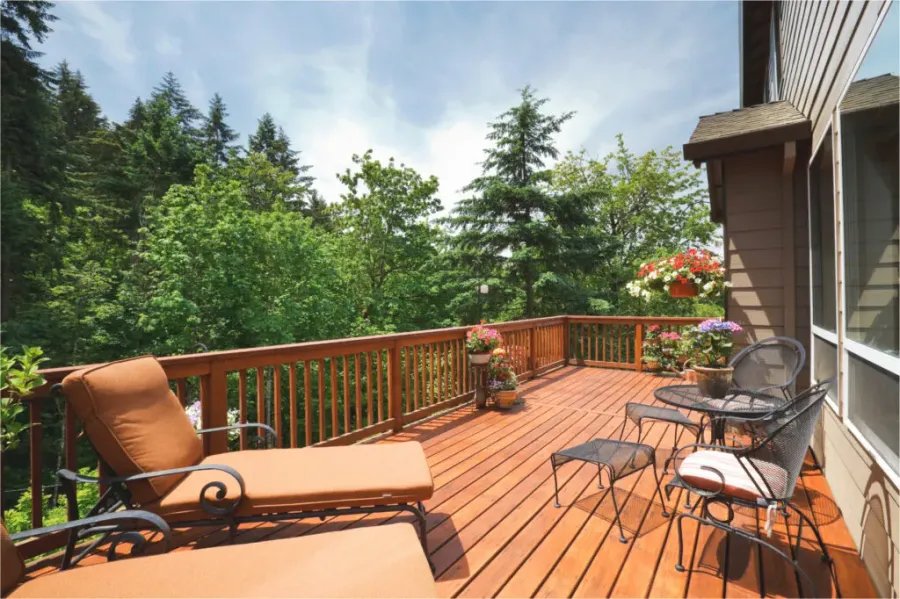
Start at your current stage. Each guide helps you make the next decision.
Set the footprint, stair location, board direction, material, and rough budget.
Confirm the rules with your municipality and prepare the drawings it requires.
Resolve footings, posts, beams, joists, ledger details, blocking, and inspection timing.
Confirm board layout, gapping, fasteners, borders, seams, and drainage before cutting.
Choose the guard and stair system while post connections are still accessible.
Coordinate fascia, stairs, lighting, skirting, drainage access, and seasonal care.
Plan lighting during framing. Run wiring before decking closes access. See the lighting guide.
Confirm site constraints, drawings, permit requirements and every utility-locate response before work begins.
Use the Toronto permit guide→
These are planning prompts, not construction specifications. Confirm the details against your approved drawings, municipality, designer, and manufacturer instructions.
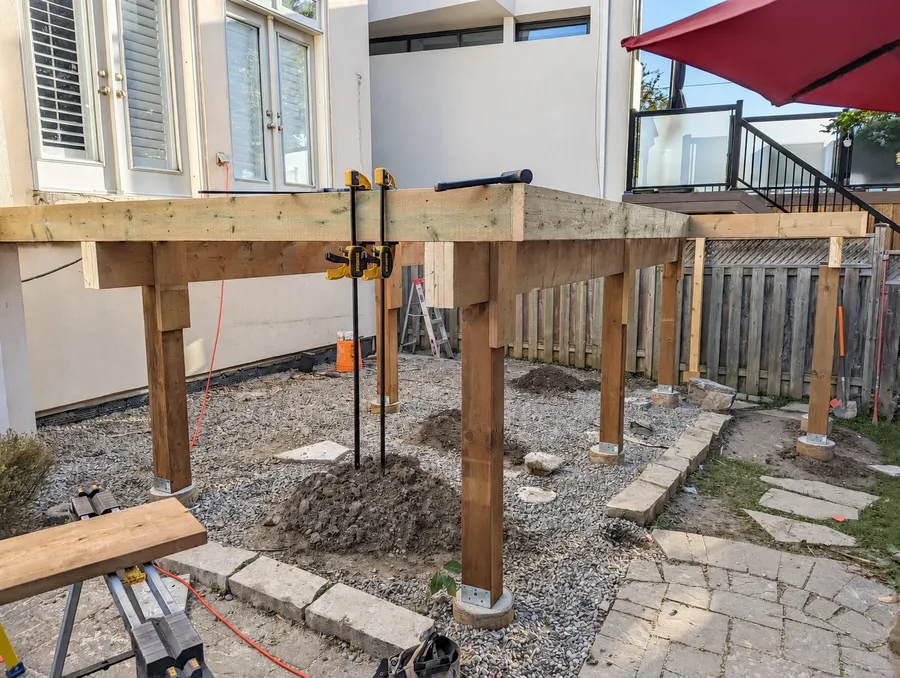
Set the footprint, stairs, board direction and material shortlist. Where a permit is required, build from the approved drawings.
Check alignment, blocking, hardware and service conflicts. Complete any required inspection while the work is visible.
Coordinate boards, stairs, railings, fascia and lighting so the parts and transitions work together.
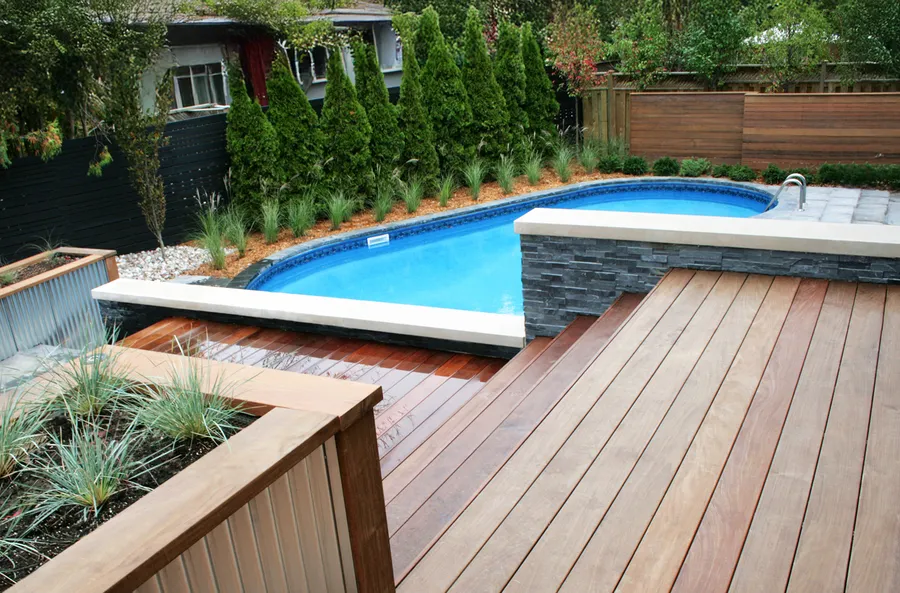
Choose a layout, compare samples or explore a specific question.

Include boards, fasteners, railings, trim and delivery in one material list. Check these details before ordering.
Request a material takeoff→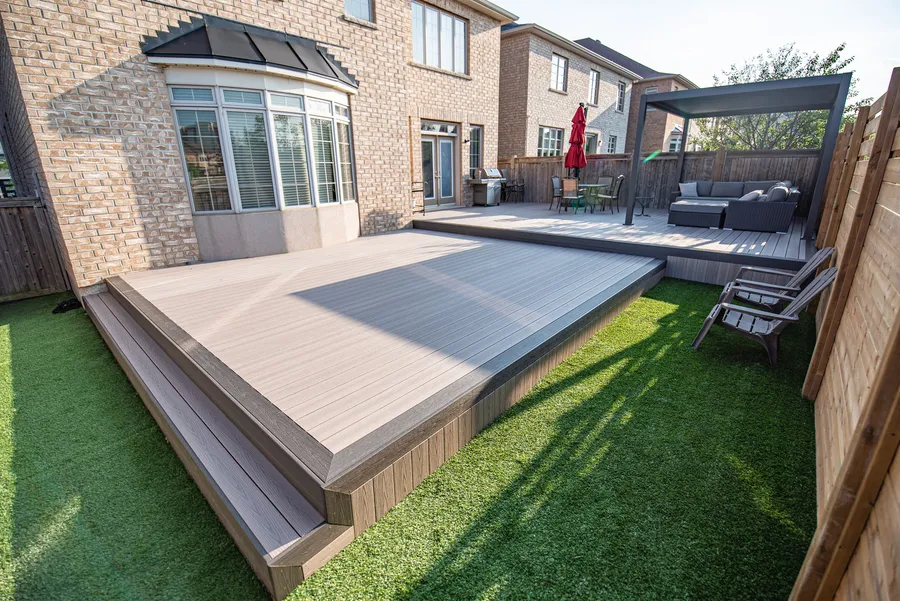

DIY can be a good fit for a simple, well-documented project. The risk rises quickly when structure, waterproofing, guards, stairs, or building systems overlap.
Important: A permit, online calculator, or general guide is not a project-specific structural design. Your municipality and qualified project professionals determine what your build requires.
These links go to public authorities and first-party installation libraries. Recheck them when the project starts; regulations and product documents can change.
Application guides, required documents, forms, fees, and the City’s current permit workflow.
City of TorontoStart at least five business days before excavation and wait for all notified infrastructure owners to respond.
Ontario One CallThe provincial starting point for the current Building Code and amendment information.
Government of OntarioA limited Canadian Wood Council reference. It does not cover footings, guards, house attachment, or lateral bracing.
Canadian Wood Council · PDFUse the current Canadian guide for the exact brand, product line and fastening system — requirements differ between collections, so a general composite-decking article is not a substitute.
Short answers to the questions that should be settled before construction or ordering begins.
Requirements depend on the municipality and project. Toronto lists decks more than 60 cm above ground as requiring a permit; some detached decks may be exempt. Do not treat height alone as approval. Confirm your design with the local building department before starting.
Toronto asks for scaled, dimensioned drawings showing footing details, columns, beams, stairs and guards, plus a site plan showing property lines, setbacks and the proposed deck. Check the application guide for the complete document and form requirements.
Use it as a starting point, not automatic approval. Toronto requires project-specific dimensions, structural details and a site plan. Adapt the plan to your property and confirm that it meets your municipality’s submission requirements.
Contact Ontario One Call at least five business days before digging, including for deck footings. Do not start simply because five days have passed: every utility listed on your request must have cleared the work area or completed its locate. Follow the instructions in the locate package.
No. Homeowners must also arrange locates for privately owned underground services. Examples include a gas line to a barbecue or pool heater, power to a detached garage, and septic piping. A public utility locate does not replace those private checks.
Possibly, if the foundation and framing are sound. Trex advises checking both the overall condition and joist spacing before resurfacing. Have the existing structure assessed and confirm that it suits the new decking system before ordering replacement boards.
No. The selected board and its layout affect support requirements. Trex notes that diagonal boards, picture-frame borders and other layouts can require closer joist spacing or extra blocking. Follow the current installation instructions for your exact product and the structural design for your project.
Do not use surface decking as a substitute for posts, beams or joists. Fiberon explicitly states that its composite decking is too flexible for structural use. Select framing separately and follow the board manufacturer’s support and fastening instructions.
Keep work that requires inspection visible until the inspection is completed. Toronto states that inspectors must be able to see the work being inspected. Confirm the inspection stages for your permit before covering the frame or other connections.
Send the dimensions and material shortlist. We’ll help account for boards, fasteners, railings, trim, and delivery.
Request material quote→Use the same project scope to compare DIY cost and schedule with a local professional build.
Find a builder